Lego CAD - How I did it
Having played around with various Lego
software I have come down to the following directory
structure and batch files. I'm not saying this is the best
solution but I dislike putting different applications in
shared directories.
All the following directories come off a root Lego
directory C:/lego

Having installed all the programs individually its time to
get them working together
In no real order lets start.
LDraw - This is the core of all lego CAD.
Install it as directed but don't worry about running it.
You only really want it for the parts. It gets a 7/10 for
the program but 10/10 for its sheer existance.
MLCAD - I like this program its really good
at creating DAT files. It seems to have settled down
recently. It used to be updated every other week but now
its so good it hurts. Rating 9/10
L3P - A really neat program to convert DAT
files into POV files. It now handles LGEO parts which make
the rendered images even better. Its a bit of a problem to
run as its a DOS program but I will deal with that in the
tips section. Rating 8/10.
LGEO - This program has all the nice include
files for l3p. I used to use l2p but don't worry about
that. Rating 7/10
BMP2LDraw32 - This converts BMP to DAT files.
It is getting better but it does generate rather large
files. Emergency use only. Rating 6/10
l3lab - This is quite useful to have a quick
look around any model as it can view from any angle quickly
and substitute colours. Rating 5/10
Mpeedy - Quite useful utility to convert all
those models into one MPD file. Rating 5/10
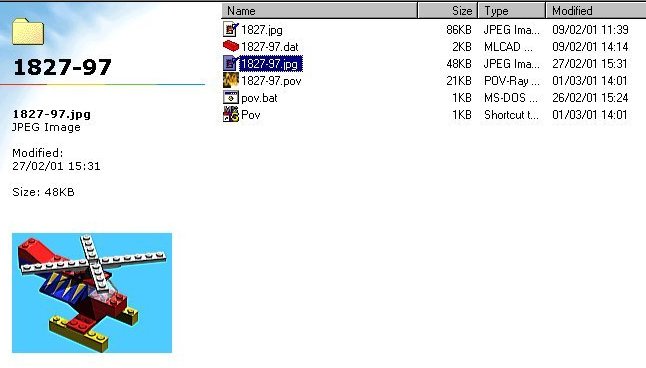
Models - This directory holds all my models.
I put them in sub-directories of various types. I haven't
got a recommended format but its just more cental for all
the other programs to find.
Parts - All unofficial models go in here.
There is nothing worse than downloading a model only to
find some parts are unofficial.
Lego CAD - Tips!
Tip 1 - Create Models in their own directory
it's much easier to keep track of projects that way.
Tip 2 - Add the following lines to your
autoexec.bat file
LDRAWDIR=c:/lego/ldraw
LGEODIR=c:/Lego/lgeo
Tip 3 - In each model directory generate a
pov.bat file with typically the following line
l3p ../models/%1/%1 ../models/%1 -o -bu -q3 -fg -b
-cg30,45,0 -lgeo -sc 
Then right click on the batch file and add a ? to the
program details.
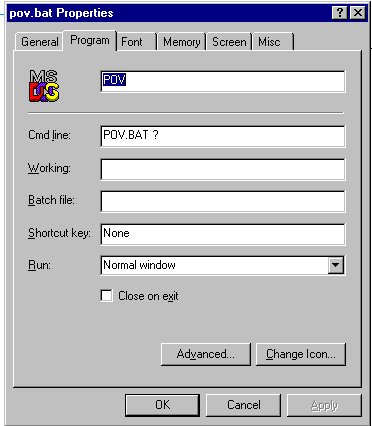
When you run the batch file it will open a window, enter
the file name (no extension) and the pov file will be
generated.
Tip 4 - Animations. In the model directory
create a file called animate.ini with the following
contents. Replacing model.pov with your project name
Initial_Frame=1
Final_Frame=32
Then in POVRAY add animate.ini to the command line options
in render. Run the animation then sit back. Remember to use
the clock function in the pov file. Glue the animation
files together to generate your animated gif.
If you have used the -sc option in l3p then set the final
frame to the number of steps as indicated in the pov
file.
Tip 5 - Do what your Mum tells you..
Ā